 Fluentd
Install fluent-package by .msi Installer (Windows)
The recommended way to install Fluentd on Windows is to use MSI installers of fluent-package.
What is fluent-package?
fluent-package is a packaged distribution of Fluentd which is formerly known as td-agent.
- Includes Ruby and other library dependencies (since most Windows machines don't have them installed).
- Includes a set of commonly-used 3rd-party plugins such as
in_windows_eventlog2.
You can also see fluent-package-v5-vs-td-agent.
How to install fluent-package
The following are deprecated fluent-package and td-agent (EOL) information:
- As Drop schedule announcement about EOL of Fluent Package v5, recommend to upgrade to Fluent Package v6. See Upgrade Guide for fluent-package v6.
- About deprecated Treasure Agent (td-agent) v4 (EOL), see Install by .msi Installer v4 (Windows).
- About deprecated Treasure Agent (td-agent) 3 will not be maintained anymore, see Install by msi Package v3.
- Do not directly upgrade from v3 to v5. Such a workflow is not supported. It causes trouble. Upgrade in stages. (v3 to v4, then v4 to v5)
Step 1: Install fluent-package
Download the latest version of MSI installer from the download page for Long Term Support version. Run the installer and follow the wizard. If you want to use the normal release version, use the download page for normal release version.
Step 2: Set up fluentd.conf
Open C:/opt/fluent/etc/fluent/fluentd.conf with a text editor. Replace the configuration with the following content:
<source>
  @type windows_eventlog2
  @id windows_eventlog2
  channels application
  read_existing_events false
  tag winevt.raw
  rate_limit 200
  <storage>
    @type local
    persistent true
    path C:\opt\fluent\winlog.json
  </storage>
</source>

<match winevt.raw>
  @type stdout
</match>
Step 3: Launch Fluent Package Command Prompt with Administrator privilege
Open Windows Start menu, and search Fluent Package Command Prompt. In most environments, the program will be found right under the "Recently Added" section or "Best match" section.
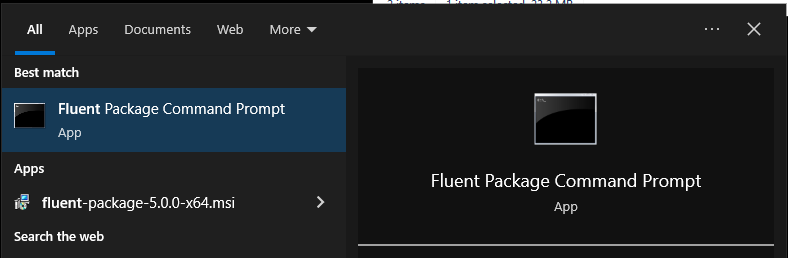
Fluent Package Command Prompt is basically cmd.exe, with a few PATH tweaks for Fluentd programs. Use this program whenever you need to interact with Fluentd.
Step 4: Run fluentd
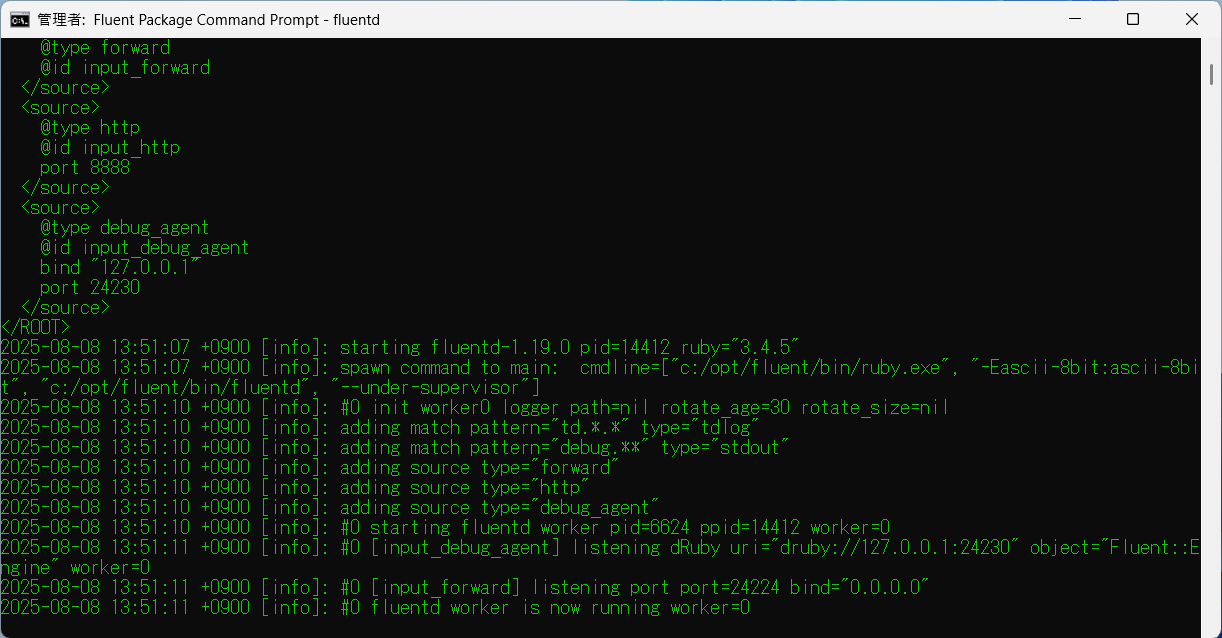
Type the following command into Fluent Package Command Prompt with Administrator privilege:
C:\opt\fluent> fluentd
Now fluentd starts listening to Windows Eventlog, and will print records to stdout as they occur.
Step 5: Run fluentd as Windows service
Fluentd is registered as a Windows service permanently by the msi installer. Since version 5.0.0, the service does not automatically start after installation. You must manually start it.
Choose one of your preferred ways:
- Using GUI
- Using
net.exe - Using Powershell Cmdlet
Using GUI
Please guide yourself to Control Panel -> System and Security -> Administrative Tools -> Services, and you'll see Fluentd Windows Service is listed.
Please double click Fluentd Window Service, and click Start button. Then the process will be executed as Windows Service.
Using net.exe
> net start fluentdwinsvc
The Fluentd Windows Service service is starting..
The Fluentd Windows Service service was started successfully.
Using Powershell Cmdlet
PS> Start-Service fluentdwinsvc
Note that using fluentdwinsvc is needed to start Fluentd service from the command-line. fluentdwinsvc is the service name and it should be passed to net.exe or Start-Service Cmdlet.
The log file will be located at C:/opt/fluent/fluentd.log as we specified in Step 3.
Step 6: Install Plugins
Open Fluent Package Command Prompt and use fluent-gem command:
C:\opt\fluent> fluent-gem install fluent-plugin-xyz --version=1.2.3
Next Steps
You are now ready to collect real logs with Fluentd. Refer to the following tutorials on how to collect data from various sources:
- Basic Configuration
- Application Logs
- Examples
There are some commercial supports for Fluentd, see Enterprise Services. If you use Fluentd on production, Let's share your use-case/testimonial on Testimonials page. Please consider to feedback via GitHub.